useMeter
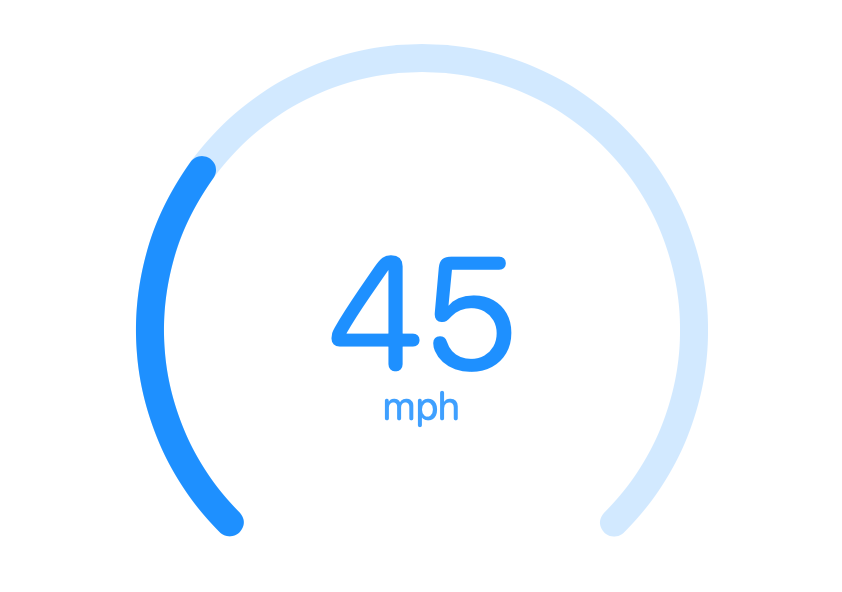
Provides the accessibility implementation for a meter component. Meters represent a quantity within a known range, or a fractional value.
| install | yarn add react-aria |
|---|---|
| version | 3.19.0 |
| usage | import {useMeter} from 'react-aria' |
API#
useMeter(
  (props: AriaMeterProps
)): MeterAria
Features#
The <meter>
HTML element can be used to build a meter, however it is
very difficult to style cross browser. useMeter helps achieve accessible
meters that can be styled as needed.
Meters are similar to progress bars, but represent a quantity as opposed to progress over time. See the useProgressBar hook for more details about progress bars.
- Exposed to assistive technology as a
metervia ARIA, with fallback toprogressbarwhere unsupported - Labeling support for accessibility
- Internationalized number formatting as a percentage or value
Anatomy#
Meters consist of a track element showing the full value in a range, a fill element showing the current value, a label, and an optional value label. The track and bar elements represent the value visually, while a wrapper element represents the meter to assistive technology using the meter ARIA role.
useMeter returns two sets of props that you should spread onto the appropriate element:
| Name | Type | Description |
meterProps | DOMAttributes | Props for the meter container element. |
labelProps | DOMAttributes | Props for the meter's visual label (if any). |
If there is no visual label, an aria-label or aria-labelledby prop must be passed instead
to identify the element to screen readers.
Example#
import {useMeter} from 'react-aria';
function Meter(props) {
let {
label,
showValueLabel = !!label,
value,
minValue = 0,
maxValue = 100
} = props;
let {
meterProps,
labelProps
} = useMeter(props);
// Calculate the width of the progress bar as a percentage
let percentage = (value - minValue) / (maxValue - minValue);
let barWidth = `%`;
return (
<div {...meterProps} style={{ width: 200 }}>
<div style={{ display: 'flex', justifyContent: 'space-between' }}>
{label &&
(
<span {...labelProps}>
{label}
</span>
)}
{showValueLabel &&
(
<span>
{meterProps['aria-valuetext']}
</span>
)}
</div>
<div style={{ height: 10, background: 'lightgray' }}>
<div style={{ width: barWidth, height: 10, background: 'green' }} />
</div>
</div>
);
}
<Meter
label="Storage space"
value={25}
/>import {useMeter} from 'react-aria';
function Meter(props) {
let {
label,
showValueLabel = !!label,
value,
minValue = 0,
maxValue = 100
} = props;
let {
meterProps,
labelProps
} = useMeter(props);
// Calculate the width of the progress bar as a percentage
let percentage = (value - minValue) /
(maxValue - minValue);
let barWidth = `%`;
return (
<div {...meterProps} style={{ width: 200 }}>
<div
style={{
display: 'flex',
justifyContent: 'space-between'
}}
>
{label &&
(
<span {...labelProps}>
{label}
</span>
)}
{showValueLabel &&
(
<span>
{meterProps['aria-valuetext']}
</span>
)}
</div>
<div style={{ height: 10, background: 'lightgray' }}>
<div
style={{
width: barWidth,
height: 10,
background: 'green'
}}
/>
</div>
</div>
);
}
<Meter
label="Storage space"
value={25}
/>import {useMeter} from 'react-aria';
function Meter(props) {
let {
label,
showValueLabel =
!!label,
value,
minValue = 0,
maxValue = 100
} = props;
let {
meterProps,
labelProps
} = useMeter(props);
// Calculate the width of the progress bar as a percentage
let percentage =
(value - minValue) /
(maxValue -
minValue);
let barWidth = `%`;
return (
<div
{...meterProps}
style={{
width: 200
}}
>
<div
style={{
display:
'flex',
justifyContent:
'space-between'
}}
>
{label &&
(
<span
{...labelProps}
>
{label}
</span>
)}
{showValueLabel &&
(
<span>
{meterProps[
'aria-valuetext'
]}
</span>
)}
</div>
<div
style={{
height: 10,
background:
'lightgray'
}}
>
<div
style={{
width:
barWidth,
height: 10,
background:
'green'
}}
/>
</div>
</div>
);
}
<Meter
label="Storage space"
value={25}
/>Styled examples#

Usage#
The following examples show how to use the Meter component created in the above example.
Custom value scale#
By default, the value prop represents the current percentage of progress, as the minimum and maximum values default to 0 and 100, respectively. Alternatively, a different scale can be used by setting the minValue and maxValue props.
<Meter
  label="Widgets Used"
  minValue={50}
  maxValue={150}
value={100} /><Meter
label="Widgets Used"
minValue={50}
maxValue={150}
value={100} /><Meter
label="Widgets Used"
minValue={50}
maxValue={150}
value={100} />Value formatting#
Values are formatted as a percentage by default, but this can be modified by using the formatOptions prop to specify a different format.
formatOptions is compatible with the option parameter of Intl.NumberFormat and is applied based on the current locale.
<Meter
  label="Currency"
  formatOptions={{style: 'currency', currency: 'JPY'}}
value={60} /><Meter
label="Currency"
formatOptions={{style: 'currency', currency: 'JPY'}}
value={60} /><Meter
label="Currency"
formatOptions={{
style: 'currency',
currency: 'JPY'
}}
value={60}
/>Custom value label#
The valueLabel prop allows the formatted value to be replaced with a custom string.
<Meter
  label="Space used"
  valueLabel="54 of 60GB"
value={90} /><Meter
label="Space used"
valueLabel="54 of 60GB"
value={90} /><Meter
label="Space used"
valueLabel="54 of 60GB"
value={90} />Internationalization#
Value formatting#
useMeter will handle localized formatting of the value label for accessibility
automatically. This is returned in the aria-valuetext prop in meterProps. You
can use this to create a visible label if needed and ensure that it is formatted correctly.
The number formatting can also be controlled using the formatOptions prop.
RTL#
In right-to-left languages, the meter should be mirrored. The label is right-aligned, the value is left-aligned, and the fill progresses from right to left. Ensure that your CSS accounts for this.